Hello Everyone!
Welcome to my new tutorial for the Crafteezee blog.
Today I’d like to show you how to make what is a very simple but elegant flower; a wild rose.
These roses bloom in spring and early summer and when they have finished blooming they begin forming the wonderful multi-use rose hips.
Part of the charm that wild roses carry is that their blooming is so fast and transient but for this short period of time they spread incredible charm and tenderness.

* a strip of white Zephyr silk foamiran,


Now it’s time to make the centrepiece of our wild rose. Make a mini ball out of a piece of kitchen foil approx. 1 cm in size.


Colour the stamens and the centre in yellow.


Glue the stamens around the bud.


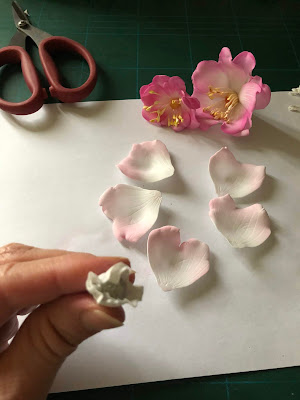
It’s now time to attach the petals. Using the photos below for reference and using a small amount of glue, paste all the petals around the bud.


At the end, your wild rose should look like this:


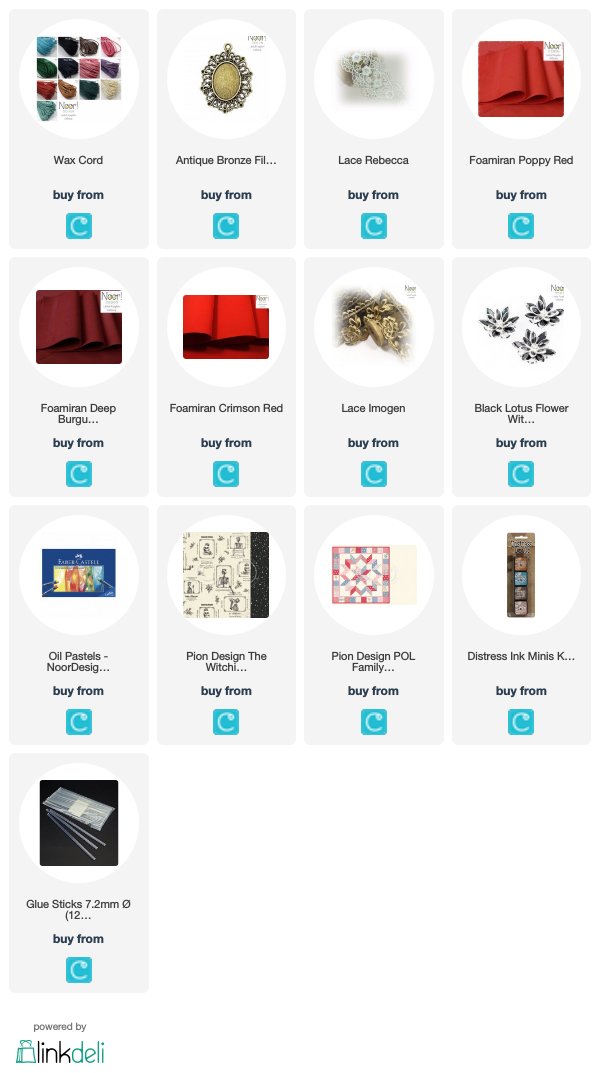
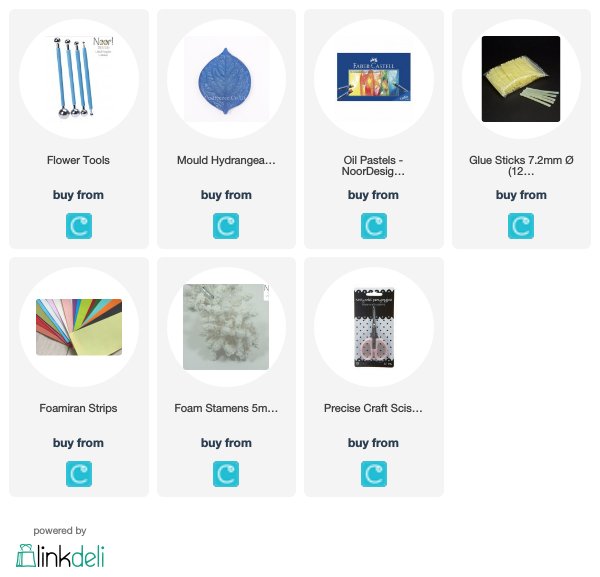
To make this flower you will need:
* a strip of white Zephyr silk foamiran,
* a 4 x 4cm square of green foamiran (it could be forest green, grass green or even olive green),
* the largest petal of a Whimsy Stamps Rose Die Set,
* a cocktail stick,
* a glue gun with glue stick,
* pink (or some other colour, magenta, purple etc.) and yellow oil pastels,
* approximately 20 double headed ivory heart shaped stamens,
* a wet wipe or a piece of kitchen sponge,
* a mini foil ball, approx. 1 cm.


From a 23cm x 5 cm strip of white Zephyr silk foamiran, cut out 5
rose petals.

Using the cocktail stick etch some lines from the bottom toward the edge of each petal as I’ve shown here.

With a wet wipe apply oil pastel and colour the upper part of the petals.

Shape the rose petals by gently stretching the centre part of the petal between your thumbs and fingers as indicated in the photos.


Using extra care stretch the edge of the petal in the opposite direction as I have shown in the picture below.

Roll the edge of each petal backwards.


When you have finished your petal should look something like this. You don’t need to use an iron.


Now it’s time to make the centrepiece of our wild rose. Make a mini ball out of a piece of kitchen foil approx. 1 cm in size.

Cover the mini ball with a square of white Zephyr silk foamiran approx. 4 x 4 cm.

Glue it as I've shown here to create a mini bud.


Glue the stamens around the bud.


It’s now time to attach the petals. Using the photos below for reference and using a small amount of glue, paste all the petals around the bud.


At the end, your wild rose should look like this:

To complete your wild rose I would recommend that the reverse side of the flower is endorsed with a green sepal, that is heated and twisted as shown. This would be made from a 4 x 4cm square of green foamiran and cut into shape and glued in place as shown.


Your wild flower is completely finished. You can use it to decorate a scrapbook project or to make some pretty hair clip, headband or other hair accessory.

Thank you for stopping by!
Wishing you a wonderful week!
Hugs!
Elena xxx
The products used can be ordered in the Noor! Design U.K. webshop: